What Are White Mini-Mint Cookies?
These are white chocolate covered crunchy mint cookies that are perfect for holidays or that time of year when the Girl Scouts are selling those other mint cookies people following SCD™, or other gluten, sugar, and grain-free diets, can’t have. These are so satisfying. I’m excited about the way these turned out.

What Will I Need to Make Grain-Free Mint Cookies?
These cookies were surprisingly easy to make, they just take a little time and a few specific ingredients. I suggest using a good quality cookie sheet, like these:
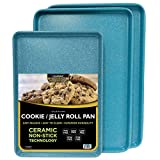
I didn’t need to line these with parchment paper, but if you do have sheets that stick, you can line with parchment or silicon baking mats.
You will also want:
- Stand mixer or electric mixer
- Medium Saucepan
- Wax Paper
- Parchment Paper for chilling (and baking if needed)
The ingredients you will need on hand:
- Coconut Flour
- Coconut Butter
- Coconut Oil
- Peppermint Extract
- Salt
- Baking Soda
- Honey (I use a local honey)
SCD™ Mint Cookie Baking Tips
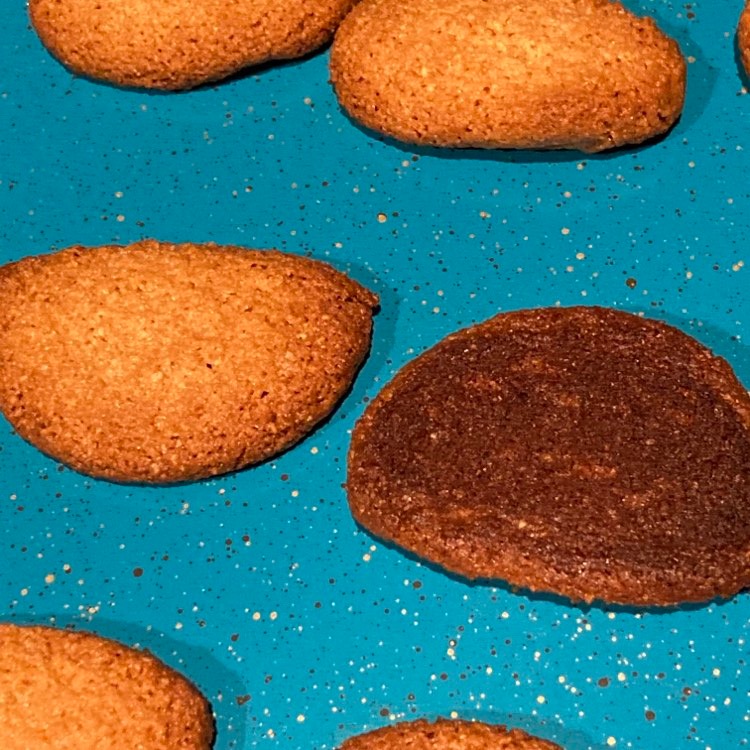
Do NOT overbake these
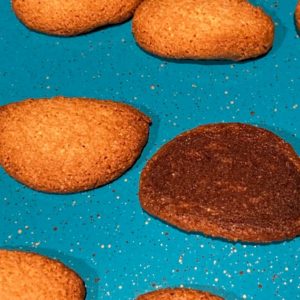
These cookies only take a few minutes to bake. They will be soft when they come out of the oven and crisp up as they cool. If they are crunchy right out of the oven, they are overdone and will just get hard as they cool.
Store as cold as you can
These are best right out of the freezer in my opinion. Of course, that is not ideal if you want to set them out for a potluck or holiday tasble, so I suggest putting them out in small batches or keeping something cold under them. the coating will melt as it warms up.
Be patient when melting the wet ingredients
Cook these over medium-low to low heat. If you heat it up quickly over higher heat it will change the flavor and possibly burn.
Can I Substitute Any Ingredients?
You can successfully substitute a couple of the ingredients.
Peppermint Extract: If you don’t have, or don’t like, peppermint extract you can easily make these as vanilla cookies and they would still be delicious.
Coconut Butter: If you don’t have coconut butter, you can use cashew butter to make the coating. It will change the flavor slightly, but the peppermint extract overpowers any cashew flavor so it will still be minty. I suggest using a very light cashew butter like Wellbee’s Cashew Butter Cream.
I hope you enjoy these awesome cookies. They are now a new favorite of mine. Give them a try and be sure to let me know what you think.

Equipment
- Stand mixer or electric beaters
Ingredients
Cookie
- 2 ½ cups almond flour
- 2 tbsp coconut flour
- ½ tsp baking soda
- ¼ tsp salt
- ½ cup honey
- ¼ cup coconut oil
- ¼ cup cocoa butter
- ½ tsp pure peppermint extract
Coating
- ¼ cup cocoa butter
- ¼ cup coconut oil
- ½ cup coconut butter
- ¼ cup honey
- 1 tsp pure peppermint extract
Instructions
Cookies
- Add almond flour, coconut flour, baking soda, and salt to stand mixer bowl or large mixing bowl
- Stir or use flat beater on stand mixer to combine dry ingredients
- Add honey, coconut oil, cocoa butter, and peppermint extract to medium saucepan
- Heat over medium-low heat until everything is melted, stirring to combine
- Pour honey mixture into dry ingredient mix
- Beat on medium speed until everything combines and starts to form a ball
- Separate dough into two equal parts
- Roll out into a one-ich thick roll on a piece of wax paper
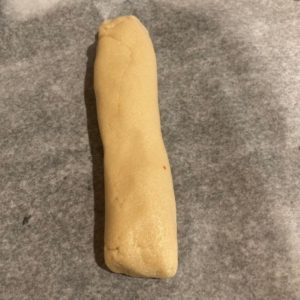
- Wrap dough roll in the wax paper
- Repeat with the second portion of dough
- Refrigerate for at least one hour – up to 24 hours if you want to make the dough ahead of time
- When you are ready to bake the cookies, preheat oven to 350°F
- Line baking sheets with parchment paper or silicon baking mat unless you have a cookie sheet that does not stick (as the ones I'm using – pictured)
- Unwrap dough and slice rolls so each slice is about ¼" thick
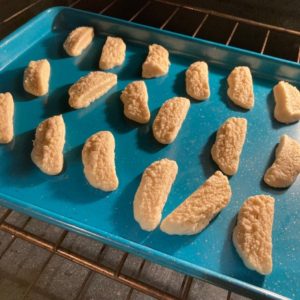
- Place slices on baking sheet (for best results use two separate baking sheets so pans are cold to start)
- Bake cookies, one sheet at a time, for 7 – 8 minutes until they are just darkened on top and are golden brown on the bottoms – cookies will be soft out the oven, but will crisp as they cool so be sure not to overbake or they will get hard
- Repeat with second batch of cookies
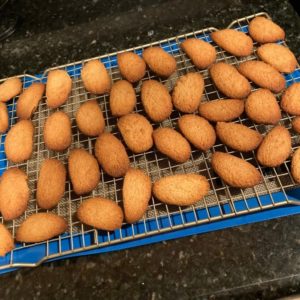
- Allow cookies to cool on pan for 10 minutes and then move to wire rack to cool the rest of the way
- Be sure cookies are completely cooled before dipping in the coating – should only take 20 – 30 minutes once they are on the wire rack
Coating
- Add all coating ingredients to medium saucepan
- Cook over low heat, stirring to combine
- Remove from heat as soon as all ingredients are melted
- Line baking sheets with fresh parchment paper
- Dip each cookie in the warm coating and lift out with a fork
- Place evenly apart on the baking sheets
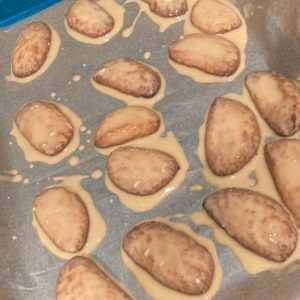
- Place baking sheets in freezer for 60 minutes to allow the coating to harden
- Store cookies in freezer bag or other air-tight freezer container in the freezer for best results
- These cookies are best chilled. If you are serving them on a table, try keeping them in the freezer and putting out small batches at a time or have something cold underneath the plate
- Grain-Free Hummingbird Cake (SCD-Friendly + So Good) - April 17, 2025
- Does Heating Honey Make It Toxic? The Truth About Warm Honey and Health - March 12, 2025
- Probiotic Avocado Mint Pudding (With a Chocolate Variation!) - March 2, 2025


Follow Happy Gut For Life