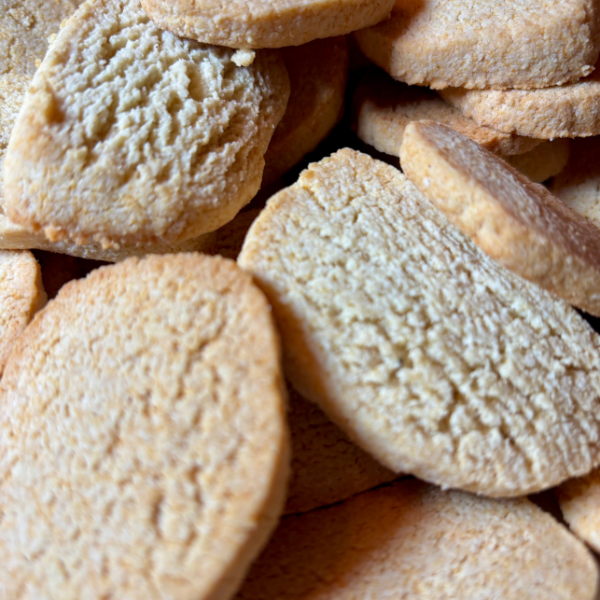
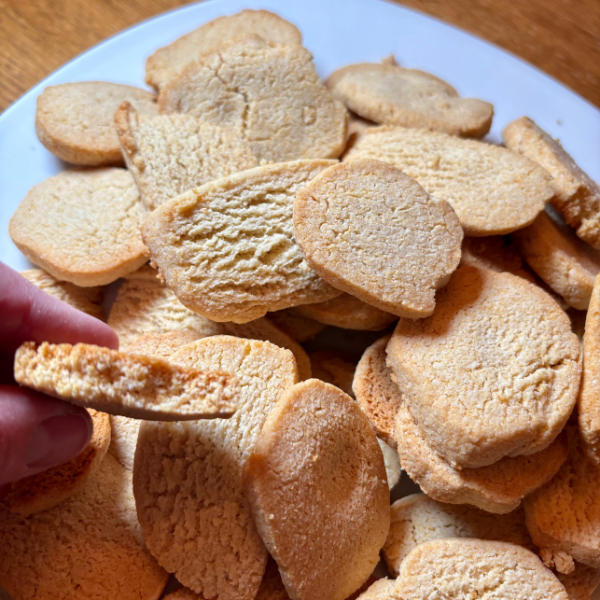
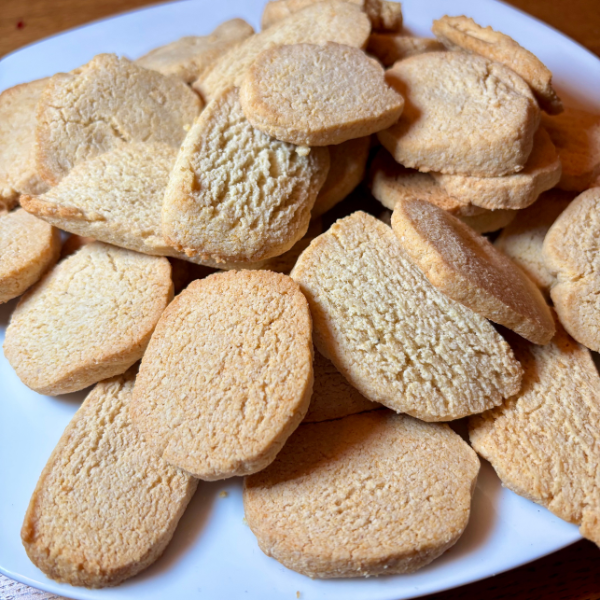
If you’re new to grain-free baking or just looking for a recipe that delivers the perfect crunchy cookie, you’ve come to the right place. These almond flour cookies are easy to make, incredibly versatile, and a great snack for on-the-go. Whether you’re following the Specific Carbohydrate Diet (SCD), Paleo, or just want a delicious cookie that happens to be grain-free, this recipe has you covered.
In this post, I’ll walk you through the step-by-step process of making these cookies, including tips for substitutions, answering common questions, and sharing the critical steps to get that perfect crunchy texture.
Vanilla Almond Flour Cookies Ingredients and Equipment You’ll Need
- Dry Ingredients:
- 2 ½ cups almond flour (blanched, finely ground for best results)
- 2 tbsp coconut flour
- ½ tsp baking soda
- ¼ tsp salt
- Wet Ingredients:
- ½ cup honey
- ¼ cup coconut oil (or unsalted butter for a richer flavor)
- ¼ cup cocoa butter (melted)
- 1 tsp vanilla extract
Equipment
- Large mixing bowl
- Small saucepan
- Mixing spoon
- Spatula
- Baking sheets (2)
- Baking liner – silicone or parchment paper
- Wax paper
- Cooling rack
- Knife for slicing the dough
Instructions for Perfect Almond Flour Cookies

Step 1: Combine the Dry Ingredients
In a mixing bowl, whisk together almond flour, coconut flour, baking soda, and salt until fully incorporated. Set aside.
Step 2: Prepare the Wet Ingredients
Melt the honey, coconut oil, and cocoa butter over medium-low heat in a saucepan. Stir frequently and avoid overheating. Once melted, remove from heat and stir in the vanilla extract.
Step 3: Mix and Form the Dough
Using an electric mixer, combine the wet and dry ingredients. Start on low speed to avoid splashing, then increase to medium. Once combined, use your hands to form the dough into a ball.
Step 4: Essential Step – Chill the Dough
Divide the dough into two portions, roll each into a log about 1 inch thick, and wrap in wax paper. Refrigerate for at least 2 hours (or overnight). Chilling is crucial to prevent the cookies from spreading too much during baking and ensures the perfect crunchy texture.
Step 5: Slice and Bake
Preheat the oven to 350°F. Slice the chilled dough into ¼-inch rounds and place them on a lined baking sheet. Leave a small space between cookies. Bake for 8-10 minutes, keeping an eye on them as baking times may vary.
Step 6: Cooling Is Key
Allow the cookies to cool on the baking sheet for a few minutes before transferring them to a cooling rack. This step is critical—moving the cookies too soon can cause them to crumble.
Almond Flour Cookie FAQ
Why Is My Dough Too Crumbly?
If the dough doesn’t come together, it may need more moisture. Add a teaspoon of water or an extra drizzle of honey and mix again.
How Can I Make My Cookies Extra Crunchy?
Slice the dough thinner (closer to 1/8 inch) and bake for a minute or two less. Let them cool completely before serving, as they continue to firm up as they cool.
Can I Freeze These Cookies?
Yes! In fact, I recommend storing them in the freezer for the ultimate crunchy texture. They’ll keep well for up to a month in an airtight container.
Almond Flour Cookie Substitutions and Variations

Substituting Almond Flour
While almond flour is ideal for this recipe, you can substitute it with other nut flours like cashew flour or blanched hazelnut flour. For best results, ensure the flour is finely ground and blanched.
Dairy-Free Options
If you prefer dairy-free cookies, stick with coconut oil and cocoa butter. If you’re not dairy-free, unsalted butter is an excellent substitute, giving the cookies a richer, more buttery flavor.
Flavor Variations
Experiment with extracts! Swap out the vanilla extract for almond, lemon, or even peppermint extract to create different cookie flavors.
Add-Ins
For a nutty twist, fold in chopped pecans to create a Pecan Sandy-style cookie.
Critical Steps for the Perfect Crunch
- Use Blanched, Fine Almond Flour: Coarser flour won’t yield the same smooth texture.
- Chill the Dough: Never skip this step—it prevents spreading and enhances the crunch.
- Let Them Cool: Resist the urge to move the cookies too soon. Cooling solidifies their structure and brings out the crunch.
- Store in the Freezer: Freezing the cookies after baking gives them an irresistibly crisp texture.
These almond flour cookies are perfect for snacking, sharing, or even as a base for other recipes like my peanut butter patties or mint cookies (you can find those recipes in my cookbook Don’t Skip Dessert, Volume 2). Let me know in the comments how your cookies turned out, and feel free to share your favorite flavor combinations!

Crunchy Vanilla Almond Flour Snack Cookies
Equipment
- Silicone liner or parchment paper
- Electric Mixer or stand mixer
Ingredients
- 2½ cups almond flour
- 2 tbsp coconut flour
- ½ tsp baking soda
- ¼ tsp salt
- ½ cup honey
- ¼ cup coconut oil – butter can be subbed
- ¼ cup cocoa butter
- 1 tsp vanilla extract
Instructions
- Add almond flour, coconut flour, baking soda, and salt to large mixing bowl
- Combine and set aside
- Add honey, coocnut oil, and cocoa butter to small saucepan
- Stir over medium-low heat for a few minutes until everything is melted (don't let it boil)
- Remove from heat
- Pour the honey mixture into the dry ingredients
- Add vanilla extract
- Stir to just combine
- Use an electric mixer on medium speed to thoroughly combine the dry and wet mixtures – it will be crumbly
- Use your hands to form the dough into a ball
- Split ball into two equal parts
- Form one ball into a one-inch log on a sheet of wax paper
- Roll the dough up in the wax paper and fold the edges so it is closed
- Repeat with the other half of the dough
- Place the wrapped dough in the refrigerator for at least two hours and up to 24
- When you are rady to bake, preheat the oven to 350℉ / 180℃
- Line your bbaking sheet with silicone liner or pachment paper
- Get one log of the dough out of the refrigerator
- Unwrap and slice dough into ¼-inch pieces
- Place slices about an inch apart on lined baking sheet
- Bake for 8 – 10 minutes until cookies are slighly firm to the touch and lightly browned around the edges. IMPORTANT – cookies will be soft when they come out of the oven and the crisp as they cool. Don't overbake them. They should be a little soft, but not doughy to the touch. Press lightly with your finger, if it just makes a soft dent, the cookeis are ready, if it makes a deep dent, they are too soft. Put back in the oven for one to two minutes.
- Let cookies cool on pan for about two minutes before moving to cooling rack
- Carefully slip a spatula under a cookie. If you can easily lift it without it crumbling, it's ready for the cooling rack
- Cool cookies on rack until completely cool – they will be crunchy at that point
- Repeat with second dough log. I like to havre two baking sheets prepared so you can put the second batch in while first batch it cooling on the pan. It's best to have cold dough on a cold pan if possible.
- For best texture, store cooled cookies in air-tight container in the freezer
Video
- No-Bake Peanut Butter Bars (SCD, GAPS, Gluten-Free) - May 27, 2025
- Stuffed Spaghetti Squash with Chicken, Heirloom Tomatoes & Kale - May 23, 2025
- Grain-Free Hummingbird Cake (SCD-Friendly + So Good) - April 17, 2025


Follow Happy Gut For Life